My Vanilla Whoopie Pie Filling seized into a gritty, unspreadable mess. It was supposed to be fluffy and smooth, but it felt like eating sweet, grainy cement. If you’ve experienced this or fear it, this guide will diagnose and eliminate every potential failure in your vanilla whoopie pie filling.
What Perfect Vanilla Whoopie Pie Filling Actually Looks, Feels, and Tastes Like
| Stage | Success marker — what you should see / feel / smell / hear |
|---|---|
| Before cooking (creaming butter & sugar) | A pale, fluffy, aerated mixture, like soft clouds, with no discernible sugar granules. Smells faintly of sweet butter. |
| Mid-cook (if applicable, though most fillings are uncooked) | N/A for most classic fillings. If a cooked component is involved (like a custard base), it would be thickened, smooth, and glossy, coating the back of a spoon without dripping off. |
| At the finish (fully mixed) | An incredibly smooth, light, and airy emulsion. The colour is a uniform creamy white. It holds soft peaks when a spatula is lifted. The texture is silky and decadent. |
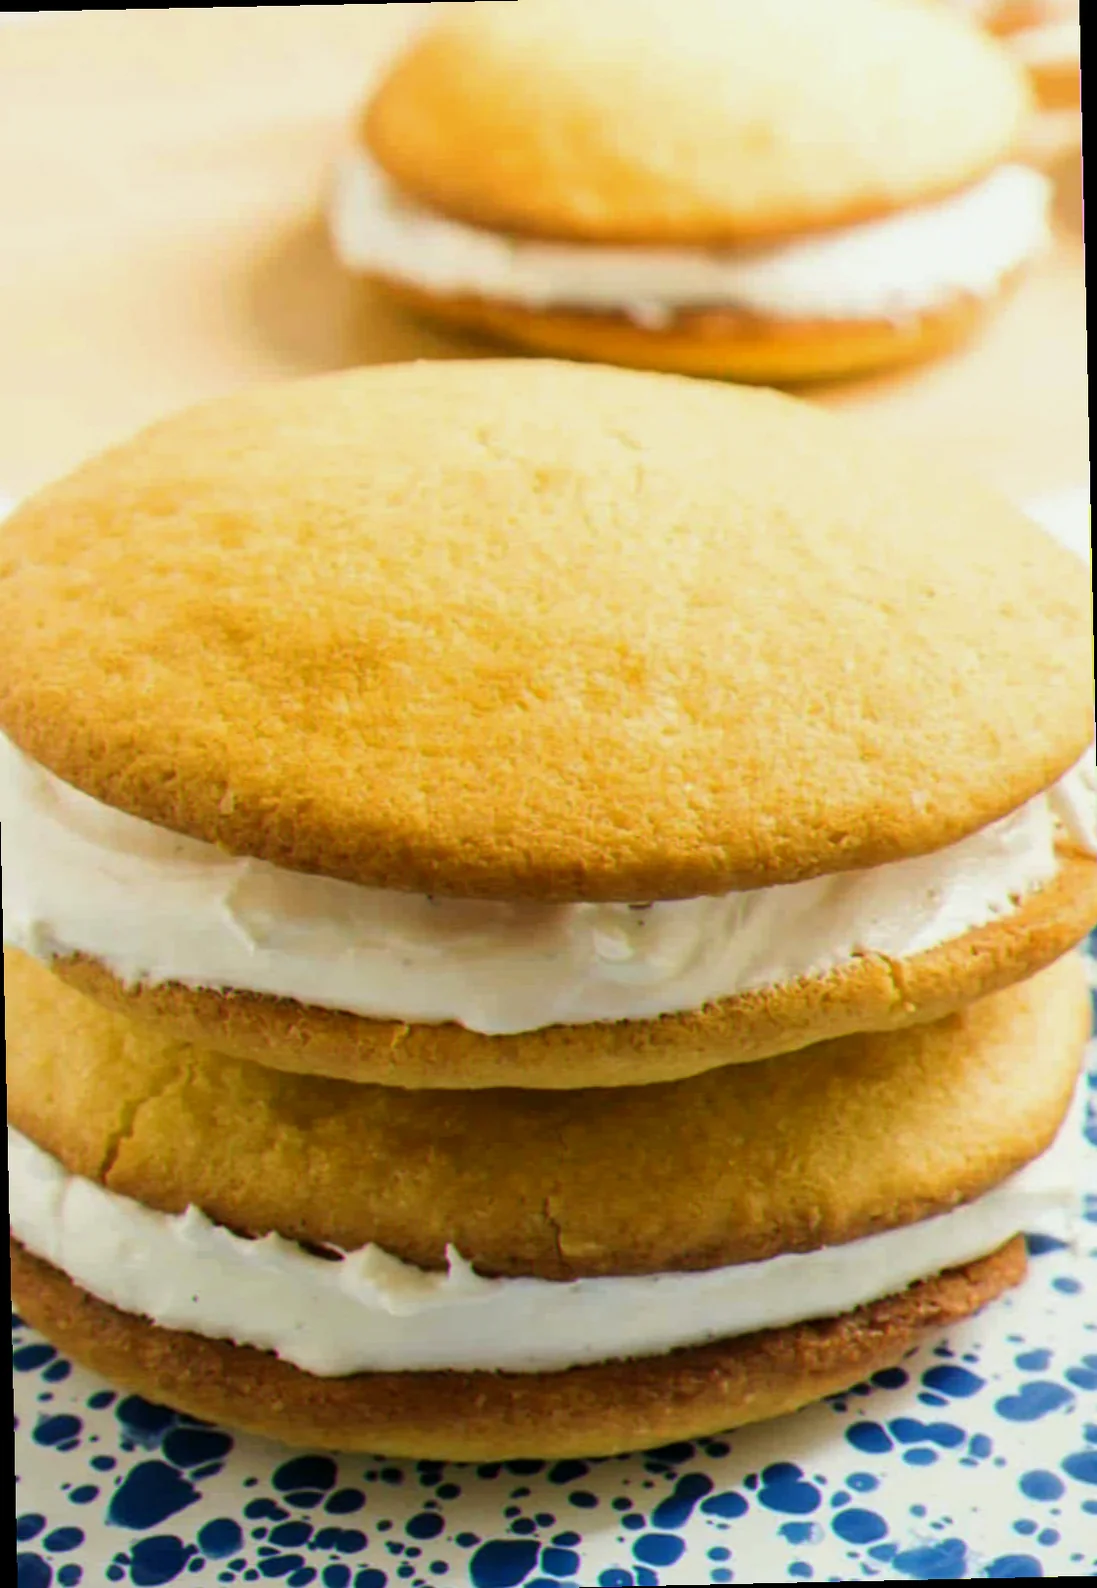
| When serving (between cookies) | A pillowy, slightly yielding texture that compresses gently under the weight of the cookie. It provides a sweet, vanilla-forward flavour that is rich but not cloying, with a clean finish. |
The Ingredient Failures — Wrong Choices Before You Even Start Cooking
- Seized, Gritty Filling: caused by using granulated sugar that is too coarse or not fully dissolved. The sharp edges of the sugar crystals remain, creating an unpleasant texture. → fix: Use superfine (caster) sugar. If you only have granulated, pulse it briefly in a food processor until it resembles fine sand.
- Greasy, Oily Filling: caused by using butter that is too soft or melted. This leads to an unstable emulsion where the fat separates. → fix: Use unsalted butter that is chilled but pliable (about 18-20°C). It should yield slightly when pressed but not be greasy.
- Flavorless Filling: caused by using low-quality or imitation vanilla extract. This results in a dull, one-dimensional sweetness. → fix: Use pure vanilla extract or vanilla bean paste. For a more intense flavor, consider scraping seeds from half a vanilla bean.
- Soggy Cookie Base (due to filling): caused by adding too much liquid or having a filling that is too thin. This moisture leaches into the cookie. → fix: Ensure your dry ingredients are accurately measured and that your filling is at the correct consistency (see “Technique Failures”).
The Technique Failures — What Goes Wrong During Cooking
- Seized, Gritty Filling: symptom: Dry, stiff, grainy texture that won’t spread. → caused by: Insufficient creaming of butter and sugar, or adding liquid too quickly to the butter/sugar mixture. → fix: Cream butter and superfine sugar for a full 5-7 minutes on medium-high speed until very pale and fluffy. Add liquid ingredients (like milk or vanilla) very slowly, a teaspoon at a time, allowing each addition to incorporate fully before adding more.
- Split, Curdled Filling: symptom: A greasy, watery appearance with visible separation of fat. → caused by: Adding liquid ingredients too cold to the creamed butter/sugar mixture, or overmixing after liquid is added. → fix: Ensure all liquid ingredients are at room temperature. Mix on low speed until just combined once liquids are added. If it starts to split, try beating in a tablespoon of powdered sugar to re-emulsify.
- Rubbery, Dense Filling: symptom: A heavy, chewy texture that lacks airiness. → caused by: Overcreaming the butter/sugar mixture for too long, or overmixing after flour (if used) or powdered sugar is incorporated. → fix: Cream butter and sugar until pale and fluffy, but stop before it becomes stiff or appears dry. Once powdered sugar is added, mix only until smooth and incorporated.
- Too Thin/Runny Filling: symptom: The filling oozes out from between the cookies, making them messy to eat. → caused by: Using too much liquid, not creaming butter/sugar enough, or not chilling the mixture sufficiently. → fix: Gradually add powdered sugar, a tablespoon at a time, until the desired thick, pipeable consistency is achieved. Ensure your butter was properly chilled.
The Equipment Failures — When Your Tools Are the Problem
- Overworked, Dense Filling: caused by using a stand mixer on too high a speed for too long. The friction can overheat the butter and break the emulsion. → use instead: A hand mixer with variable speed control is ideal. Mix on medium-high for creaming, then switch to low for incorporating liquids and powdered sugar.
- Unevenly Creamed Butter/Sugar: caused by using a whisk attachment that doesn’t reach the sides of the bowl. → use instead: The paddle attachment on a stand mixer, or a flexible spatula to scrape down the bowl frequently. This ensures uniform incorporation.
- Inaccurate Temperature: caused by not knowing your butter’s temperature. → the fix: Use a kitchen thermometer to verify butter is between 18-20°C. Workaround: If unsure, press it gently; it should yield but not feel oily or leave significant residue on your fingers.
The Full Recipe — Built Around Preventing Every Failure Above
- Unsalted Butter — 227g (1 cup) — This specific quantity prevents a filling that is too greasy or too stiff. Using unsalted allows control over saltiness and prevents a metallic tang.
- Superfine (Caster) Sugar — 450g (3.5 cups) — This fine granulation is crucial for dissolving and preventing a gritty texture. If using granulated, pulse it in a food processor until it resembles fine sand.
- Pure Vanilla Extract — 2 teaspoons — Ensures a robust, authentic vanilla flavour, preventing a bland result.
- Whole Milk (or heavy cream) — 2-4 tablespoons — This is the variable liquid to achieve the perfect consistency. Start with less and add more as needed.
- Salt — 1/4 teaspoon — Enhances the sweetness and balances the flavour, preventing a cloying profile.
Method:
- Cream: In the bowl of a stand mixer fitted with the paddle attachment (or using a hand mixer), beat the butter on medium-high speed for 3-4 minutes until very pale and fluffy. This aeration is key for a light texture and prevents a dense filling. Success marker: The butter should look like soft, pale whipped cream, with no visible yellow streaks.
- Add Sugar Slowly: With the mixer on low speed, gradually add the superfine sugar, about half a cup at a time. Once all sugar is added, increase speed to medium-high and cream for another 5-7 minutes. This extended creaming period is critical to dissolve the sugar and create the airy base, preventing grittiness and a split texture. Success marker: The mixture will be very pale, noticeably increased in volume, and feel smooth when a small amount is rubbed between your fingers.
- Incorporate Vanilla and Salt: Add the vanilla extract and salt. Mix on low speed until just combined. This ensures even flavour distribution without overmixing, which can lead to a split or rubbery texture. Success marker: The mixture remains fluffy and pale, with no streaks of vanilla.
- Add Liquid Gradually: With the mixer on low speed, add the milk (or cream) one tablespoon at a time. Mix until each tablespoon is fully incorporated before adding the next. This is where you control consistency and prevent a split or runny filling. You may not need all 4 tablespoons. Stop adding liquid when the filling reaches a thick, pipeable consistency that holds soft peaks. This is a critical control point where too much liquid can cause the filling to be too thin, and too little can make it stiff. Success marker: The filling is smooth, voluminous, and holds its shape when the beater is lifted, forming a soft peak that curls slightly.
How to Rescue Vanilla Whoopie Pie Filling When It Has Already Gone Wrong
- If your filling is seized and gritty: This is often due to undissolved sugar. If it’s not too far gone, try beating it on medium-high speed for another 5-10 minutes with the addition of 1-2 tablespoons of milk or cream. This might help dissolve some of the remaining sugar. If it remains gritty, it’s difficult to fully rescue for smooth whoopie pies, but it could potentially be used as a filling for something with a more rustic texture, or churned into ice cream.
- If your filling has split (watery/greasy): Try beating it on medium-high speed. If the fat has separated, adding 1-2 tablespoons of extra powdered sugar (if you have it) can help re-emulsify the mixture. Alternatively, if it’s slightly warm, chilling it briefly in the refrigerator for 10-15 minutes can help firm it up. If it’s severely split, it’s best to start again.
- If your filling is too thin and runny: Add more superfine sugar, one tablespoon at a time, beating well after each addition until the desired thick, pipeable consistency is achieved. Be cautious not to add too much, or it will become stiff.
- If your filling is too stiff: Add more milk or cream, one teaspoon at a time, beating until it reaches the desired creamy, spreadable consistency.
Make-Ahead: Which Failures This Introduces and How to Avoid Them
Making whoopie pie filling ahead can introduce “Stale/Hardened Filling” or “Flavor Degradation.”
- Cause: Exposure to air leads to drying and hardening. Extended storage can diminish fresh vanilla aroma.
- Fix: Store the filling in an airtight container, pressing plastic wrap directly onto the surface to prevent air contact. Refrigerate for up to 3 days. When ready to use, let it sit at room temperature for 15-20 minutes and re-whip briefly with a hand mixer to restore its fluffiness. This helps avoid the hardened texture and reactivates the aroma.
Related topics: Recipe for bottled apple pie filling · Recipe coconut custard pie filling · Best tasting apple pie filling recipe
Diagnostic FAQ — Real Failures, Real Fixes
My vanilla whoopie pie filling turned out greasy and separated. What went wrong?
This is a “Split Filling” failure. The most likely cause is adding cold liquid to the butter/sugar mixture, or the butter being too soft to begin with. For next time, ensure your butter is chilled but pliable (18-20°C) and that all liquid ingredients are at room temperature before adding them.
It looked right, but tasted overwhelmingly of sugar and nothing else. Where did I go wrong?
This indicates a “Flavorless Filling” issue. The likely culprit is using imitation vanilla extract or not using enough pure vanilla extract. For your next batch, use pure vanilla extract or vanilla bean paste, and consider a pinch of salt to enhance the existing flavors.
Everything looked perfect until I tried to spread it, and it was stiff and unyielding. Why did it become so hard?
This is a “Rubbery, Dense Filling” failure, likely caused by overmixing after the powdered sugar was added, or the butter/sugar not being creamed sufficiently initially. For your next attempt, mix the powdered sugar on low speed until just combined and stop creaming the butter and sugar once it reaches a pale, fluffy consistency, not a stiff peak.