The most common failure in a Hershey bar with almonds pie is the Seized Chocolate Sludge, where the filling turns into a gritty, unspreadable paste instead of a silky mousse. This happens when a single drop of stray moisture hits the melting chocolate or when the temperature fluctuates too wildly, causing the cocoa solids to separate from the fats. This diagnostic guide identifies every failure mode—from the Soggy Graham Foundation to the Deflated Mousse Collapse—to ensure your dessert achieves structural integrity and a professional finish.
What Perfect Hershey Bar With Almonds Pie Actually Looks, Feels, and Tastes Like
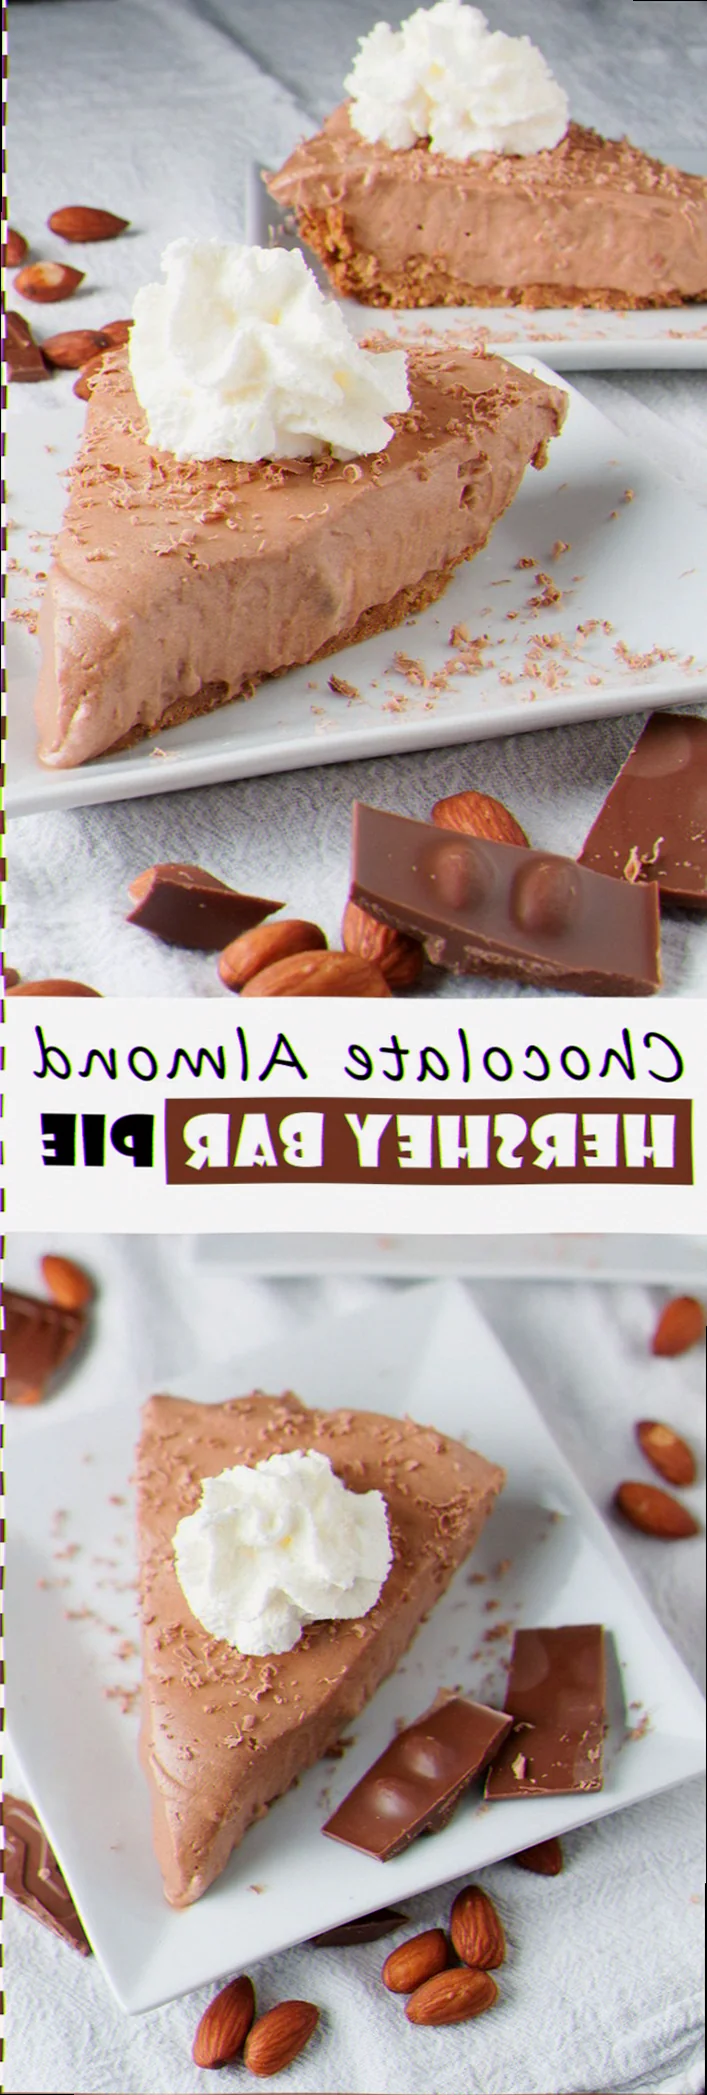
Before diagnosing a failure, you must recognize the benchmark. A successful pie is a study in contrasting textures: a crisp, buttery base supporting a cloud-like, aerated chocolate filling studded with crunchy, toasted almond fragments.
| Stage | Success marker — what you should see / feel / smell / hear |
|---|---|
| Melting Phase | A glossy, uniform liquid with a mahogany sheen; almonds should be coated but visible; temperature should not exceed 45°C. |
| Cooling Phase | The mixture should be viscous and thick, similar to warm pudding, but still pourable; it must feel neutral (approx. 30°C) to the touch. |
| Aeration (Whipping) | Heavy cream forms “stiff peaks”—when the whisk is lifted, the cream stands straight up without drooping; it looks matte, not shiny. |
| The Finished Set | After 4 hours at 4°C, the pie should “spring back” slightly when pressed; a knife should come out clean with no liquid residue. |
| The First Bite | A sequence of textures: immediate dissolve of the mousse, followed by the “snap” of a cold almond, ending with the salty-sweet crunch of the crust. |
The Ingredient Failures — Wrong Choices Before You Even Start Cooking
- Rubbery Marshmallow Globule: caused by using stale or “generic” marshmallows with high cornstarch coating → fix: Use fresh, name-brand jet-puffed marshmallows (approx. 150g) which have a higher moisture-to-gelatin ratio for a smoother melt.
- The Greasy Film Failure: caused by using “Heavy Whipping Cream” with less than 36% milkfat or using vegetable-based imitation toppings → fix: Source premium Heavy Cream with 38-40% milkfat to ensure stable air-cell structure.
- Waxy Mouthfeel: caused by using “Hershey-flavored” compound chocolate or candy melts instead of genuine Hershey’s Milk Chocolate with Almonds bars → fix: Use six 1.5 oz (43g) standard Hershey bars with almonds; the specific milk-crumb process in these bars is required for the traditional flavor profile.
The Technique Failures — What Goes Wrong During Cooking
- Seized Ganache: The chocolate turns into a dry, grainy clump → caused by “steam-hit” (water vapor entering the bowl) or overheating → fix: Melt using a strict bain-marie method where the water never touches the bottom of the bowl, maintaining a temperature of 40-45°C.
- The Deflated Mousse Collapse: The pie is dense and heavy rather than fluffy → caused by “Aggressive Folding” which knocks the air out of the whipped cream → fix: Use a wide rubber spatula to cut through the center and lift from the bottom in a “J” motion, stopping the moment no white streaks remain.
- The Almond Bitterness: A burnt, acrid aftertaste → caused by scorching the almonds during the melting process → fix: Do not chop the bars before melting; melt them whole so the chocolate protects the almonds from direct heat.
- Soggy Bottom Syndrome: The crust is mushy and falls apart → caused by pouring a warm filling into a room-temperature crust → fix: Flash-freeze the prepared graham cracker crust for 15 minutes at -18°C before filling to create a moisture barrier.
The Equipment Failures — When Your Tools Are the Problem
- The Metal Bowl Pitfall: Using a thin stainless steel bowl for melting can cause hot spots that scorch the milk solids in the chocolate. Use a tempered glass (Pyrex) bowl; it retains heat more evenly and allows for a slower, controlled melt.
- The Balloon Whisk Error: Using a standard whisk to fold the cream into the chocolate. This destroys 40% of the aeration. Use a silicone spatula with a flexible edge to preserve the nitrogen bubbles in the whipped cream.
- The Shallow Pie Tin: Using a standard 8-inch tin for a recipe designed for a 9-inch deep-dish. This leads to “The Overspill,” where the edges never set correctly. If you only have a shallow tin, reduce the marshmallow count by 20%.
The Full Recipe — Built Around Preventing Every Failure Above
- 6 Hershey Bars with Almonds (1.5 oz each) — 258g total — Using the bars whole prevents the almonds from scorching.
- 1/2 cup Whole Milk — 120ml — Acts as the bridge emulsifier to prevent the chocolate from seizing.
- 15 Large Fresh Marshmallows — 105g — Provides the gelatinous structure to prevent “weeping.”
- 1 cup Heavy Cream (36%+ fat) — 240ml — Cold (4°C) to ensure maximum air entrapment.
- 1 ½ cups Graham Cracker Crumbs — 170g — Fine grind prevents “The Crumbly Break.”
- 6 tbsp Unsalted Butter, Melted — 85g — The binder for the crust.
Method:
- Construct the Barrier: Combine graham crumbs and melted butter. Press firmly into a 9-inch pan. Success marker: The crust should feel like damp sand and show no loose crumbs when tilted.
- Thermal Shock Prevention: Place the crust in the freezer at -18°C. This prevents the filling from migrating into the crust.
- Controlled Emulsification: Place the chocolate bars, milk, and marshmallows in a glass bowl over simmering water. Do not stir for the first 3 minutes. Success marker: The marshmallows should look “puffy” and the chocolate should be slumped but not liquid.
- The Smooth Integration: Stir gently until a uniform brown liquid forms. Success marker: A glossy, ribbon-like consistency at 45°C.
- The Critical Cooling: Remove from heat and let sit until it reaches 30°C (slightly cooler than body temperature). This prevents the “Whipped Cream Melt” failure.
- Peak Stabilization: In a chilled bowl, whip the heavy cream to stiff peaks. Stop the moment the cream loses its shine. Success marker: The cream holds a “peak” that does not move when the bowl is tilted.
- The Gentle Fold: Add 1/3 of the cream to the chocolate to “lighten” it, then fold in the remaining 2/3. Success marker: A uniform, pale-cocoa color with no white streaks.
- The Final Set: Pour into the frozen crust. Refrigerate for exactly 4 to 6 hours. Do not cover with plastic wrap immediately to avoid “Condensation Drip” on the surface.
How to Rescue Hershey Bar with Almonds Pie When It Has Already Gone Wrong
- If the chocolate has seized (grainy/clumped): Add 1 tablespoon of boiling water or additional warm milk and whisk vigorously. This can often re-emulsify the fats. It will result in a slightly denser pie, but it saves the ingredients.
- If the filling is too soupy after 4 hours: The gelatin in the marshmallows didn’t set or the cream was under-whipped. Place the entire pie in the freezer for 2 hours. Serve it as a “Frozen Hershey Silk Pie.” It is a 100% recovery that feels intentional.
- If the crust is stuck to the pan: Briefly wrap the bottom of the pie tin in a warm, damp towel for 30 seconds. This softens the butter binder just enough to release the slice.
Make-Ahead: Which Failures This Introduces and How to Avoid Them
When making this pie 24–48 hours in advance, you face the Almond Softening Failure. Over time, the moisture in the mousse migrates into the almonds, turning them from “crunchy” to “leathery.”
- Prevention: If making more than 12 hours ahead, chop two additional Hershey bars and sprinkle the fresh chunks on top immediately before serving.
- Storage: Store at 4°C in an airtight pie carrier. Do not freeze long-term (more than 1 week), as the dairy will “split” upon thawing, resulting in a grainy texture.
Related topics: Pecan sour cream pie crust recipe · Whipped cream for pumpkin pie recipe · Adeena sussman pie crust recipe
Diagnostic FAQ
My pie turned out “spongy” and holes appeared — what went wrong?
This is the Over-Aeration Failure. You likely whipped the cream into “over-stiff” territory or folded too vigorously, creating large, unstable air pockets. Next time, stop whipping the cream the moment it holds its shape.
It looked right but tasted “thin” and lacked depth — where did I go wrong?
This is an Ingredient Quality Entity issue. Using “Light Milk” or “Low-fat Butter” removes the lipids necessary to carry the chocolate flavor across the palate. Always use whole milk and high-fat European-style butter.
Everything looked perfect until I sliced it — why did it collapse?
The Warm Blade Failure. A cold mousse will “drag” if cut with a dry, cold knife. Dip your knife in hot water and wipe it dry between every single cut. The heat slices through the marshmallow-stabilized chocolate without pulling the structure down.