The first time I made a proper cherry pie, the kind that makes you close your eyes and hum, it was a disaster. A sticky, sad, syrupy disaster. The crust was a pale, flabby shadow of what it should have been, and the filling? Think canned pie filling, but somehow worse. It was a sunken, watery mess, a complete abdication of potential. I’d spent hours on it, meticulously measuring, carefully crimping, and all I had to show for it was a pie that looked like it had been weeping. That was until I finally understood the magic of pre-cooking the cherries.
Why Most Versions of Cherry Pie Fail
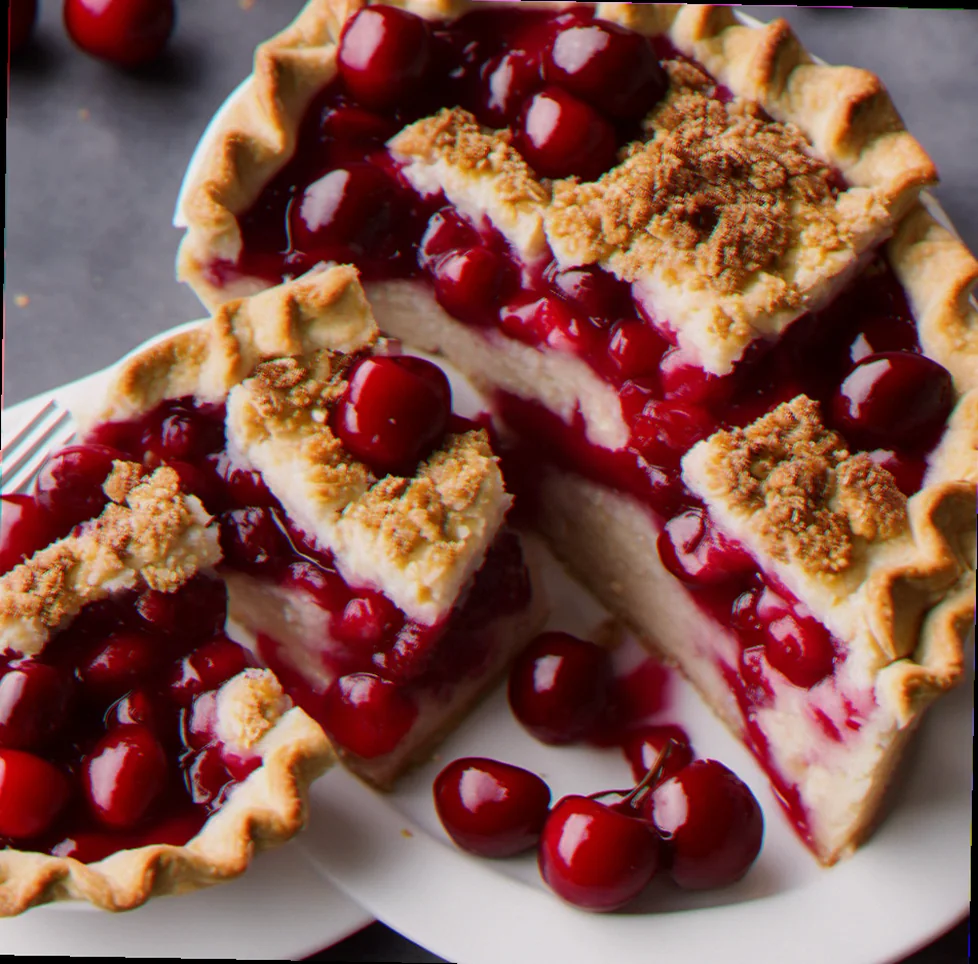
The biggest sin most home cooks commit, myself included for far too long, is throwing raw cherries directly into an unbaked crust. It’s the blind faith assembly line approach. You layer raw fruit over a cold, unbaked pastry, slap on the top crust, and hope for the best. What you get is a pie that’s simultaneously undercooked and overcooked. The bottom crust steams into a pallid, gummy disappointment because all the raw cherry juice (and there’s a lot of it) has nowhere to go but straight down. The filling, meanwhile, never truly cooks through, remaining a watery, insipid shadow of its potential. The flavour is muted, the texture is off, and the whole thing feels… unfinished. A truly great cherry pie, on the other hand, has a vibrant, jammy filling that clings to the fruit, and a golden, flaky crust that offers a delightful textural contrast.
The Ingredients That Actually Matter
It all starts with the cherries, of course. I’ve learned that tart cherries are non-negotiable. Those sweet, bright red cherries you find in the supermarket? They have too much water and not enough punch. I scour the specialty stores or the frozen section for Montmorency tart cherries, usually about 700g worth, sometimes a bit more if they look particularly plump. Frozen are perfectly fine, and often more consistent than fresh, which can vary wildly. Then there’s the sugar. I use a mix: about 180g of granulated sugar for sweetness, but crucially, another 50g of light brown sugar. That little bit of molasses in the brown sugar adds a depth, a subtle caramel note that just makes everything sing. For thickening, forget cornstarch. It’s too gummy, too prone to that pasty mouthfeel. My secret weapon is tapioca starch, specifically the instant kind. About 30g of it. It creates a beautifully clear, glossy gel that lets the cherry colour shine through. A squeeze of lemon juice, maybe 15ml, brightens everything up, and a pinch of salt – just a tiny pinch, about 2g – is essential to amplify all those flavours. And for the crust? It has to be all-butter. No shortcuts. 240g of unsalted butter, ice-cold, is the minimum for a single crust, but for a double-crust pie like I always make, I use 480g. It’s the fat that gives you those shatteringly crisp layers.
The Moment Everything Changes: Pre-cooking the Filling
The single biggest game-changer for my cherry pies, the revelation that turned my watery failures into triumphs, was pre-cooking the cherry filling. It sounds counterintuitive, right? Why cook the filling before you even bake the pie? But it’s everything. When you cook the cherries with the sugar, lemon juice, and tapioca starch before they go into the pie, you achieve two crucial things. First, you allow the tapioca starch to fully activate and thicken the juices into a luscious, jammy consistency. This means no more watery puddles at the bottom of the pie. Second, you evaporate excess moisture from the cherries themselves. This concentrates their flavour and prevents the bottom crust from becoming soggy. It’s the difference between a pie that’s essentially a fruit stew in a pastry shell and a pie with a rich, concentrated fruit filling that complements a perfectly baked crust.
How I Actually Make It Now — Step by Step
Prepare the Pastry: I’m a double-crust girl through and through. I mix my 480g of ice-cold, cubed butter with 500g of all-purpose flour, 10g of salt, and about 120-150ml of ice-cold water. I pulse it in the food processor until it looks like coarse meal with some pea-sized butter chunks still visible. Then, I turn it out, gently bring it together, divide it into two discs, wrap them, and let them chill for at least an hour. This resting period is crucial for gluten relaxation, which means a tender crust.
Pre-cook the Filling: This is where the magic happens. In a large saucepan, I combine my 700g of tart cherries (frozen or fresh), 180g granulated sugar, 50g light brown sugar, 30g tapioca starch, 15ml lemon juice, and 2g salt. I stir it all together over medium heat. I’m watching for the mixture to start to bubble and thicken. This usually takes about 5-7 minutes. You’ll see the juices start to turn syrupy and translucent. Don’t walk away; give it a stir. Once it’s thickened to a glossy, jam-like consistency – think thick gravy – I take it off the heat and let it cool for at least 15-20 minutes. It needs to cool down a bit before it meets the cold pastry.
Assemble the Pie: I roll out one disc of pastry for the bottom crust. I gently press it into a 23cm pie dish, trimming any excess. Then, I spoon the cooled cherry filling into the pastry shell. I spread it evenly, making sure to get all those delicious juices. I roll out the second disc for the top crust. I can do a full top crust with vents, or I often opt for a lattice. Whichever I choose, I lay it over the filling and crimp the edges to seal. I brush the top with an egg wash (one egg beaten with a splash of milk) for that glorious golden sheen.
Bake to Perfection: I preheat my oven to 200°C (180°C fan). I place the pie on a baking sheet to catch any potential drips. I bake it for about 20 minutes at this higher temperature, which helps set the crust. Then, I reduce the oven temperature to 180°C (160°C fan) and continue baking for another 30-40 minutes, or until the crust is deeply golden brown and the filling is visibly bubbling through the vents or lattice. If the edges are browning too quickly, I’ll loosely tent them with foil. The whole house should smell like pure bliss.
The Failures I Still See — and How to Fix Them
- A Soggy Bottom Crust: This is the most common killer. It’s caused by baking raw fruit directly into the pie. The fix is the pre-cooking step I mentioned. It ensures the filling is already thick and has released its excess moisture before it hits the bottom crust.
- A Watery Filling: Even with pre-cooking, if you don’t use enough thickener or if your tapioca starch is old and lost its potency, you can still end up with a watery pie. Always check the expiry date on your tapioca starch, and if you’re unsure, add an extra teaspoon or two.
- A Pale, Undercooked Crust: This is usually a combination of not baking at a high enough initial temperature and not baking for long enough. My pies go into a hot oven (200°C) for the first 20 minutes to really get the pastry going before I reduce the heat. And I bake until it’s deeply golden, not just lightly browned.
When I Make This and What I Serve It With
Cherry pie isn’t an everyday dessert for me. It’s for celebrations, lazy Sundays, or when I need a serious dose of comfort. It’s the star of any summer barbecue dessert spread, or the perfect end to a hearty roast dinner in the fall. I almost always serve it warm, with a dollop of crème fraîche (its slight tang cuts through the sweetness beautifully) or a generous scoop of good quality vanilla bean ice cream. The contrast of warm pie and cold ice cream is simply divine. For a more elaborate meal, I might pair it with a simple mixed green salad with a light vinaigrette to cleanse the palate, or a creamy burrata with grilled peaches if it’s peak summer and I want to lean into the fruit theme. A crisp, dry rosé or a light-bodied pinot noir is my go-to drink pairing.
Substitutions I’ve Tested Honestly
- Tart Cherries → Sweet Cherries: I tried this once, thinking it would be easier. Big mistake. Sweet cherries have far too much water and not enough flavour to stand up. I ended up adding a LOT more sugar and tapioca, but it was still just… meh. It lacked the necessary tartness. Stick to tart.
- Tapioca Starch → Cornstarch: I’ve definitely done this in a pinch. Cornstarch works, but it tends to give a slightly cloudy, chalky texture compared to the clear, glossy sheen of tapioca. It’s acceptable if you’re desperate, but tapioca is superior.
- All-Butter Crust → Shortening Crust: I’ve made this swap for a friend who’s lactose intolerant. It’s not the same. A shortening crust is often flakier in a different way, but it lacks the rich, buttery flavour that’s so integral to a classic cherry pie. It’s a functional substitute, but not a delicious one.
Questions I Get Asked About Cherry Pie
My pie always leaks! What am I doing wrong?
You’re probably not sealing the edges properly, or your bottom crust is too thin. Make sure you press the top and bottom crusts together firmly all the way around. If you’re doing a lattice, make sure those interwoven strips are tucked securely under the edge of the bottom crust before you crimp.
Can I use fresh cherries if they’re not tart cherries?
Honestly, I wouldn’t recommend it. If you absolutely must, you’ll need to significantly reduce the sugar and increase the thickener, and even then, you’ll miss that signature tartness. It’s worth seeking out tart cherries for this pie. They are the soul of it.
Related topics: Recipe for cherry delight pie · Italian pie recipes · Vegetarian pie recipes without egg
How do I get that perfect golden-brown crust without burning the edges?
This is a common struggle! The trick is to start with a good, hot oven to set the crust, and then lower the temperature to allow the inside to bake through. If the edges start to get too dark before the rest of the pie is done, loosely tent them with strips of aluminum foil. It acts like a little shield.